
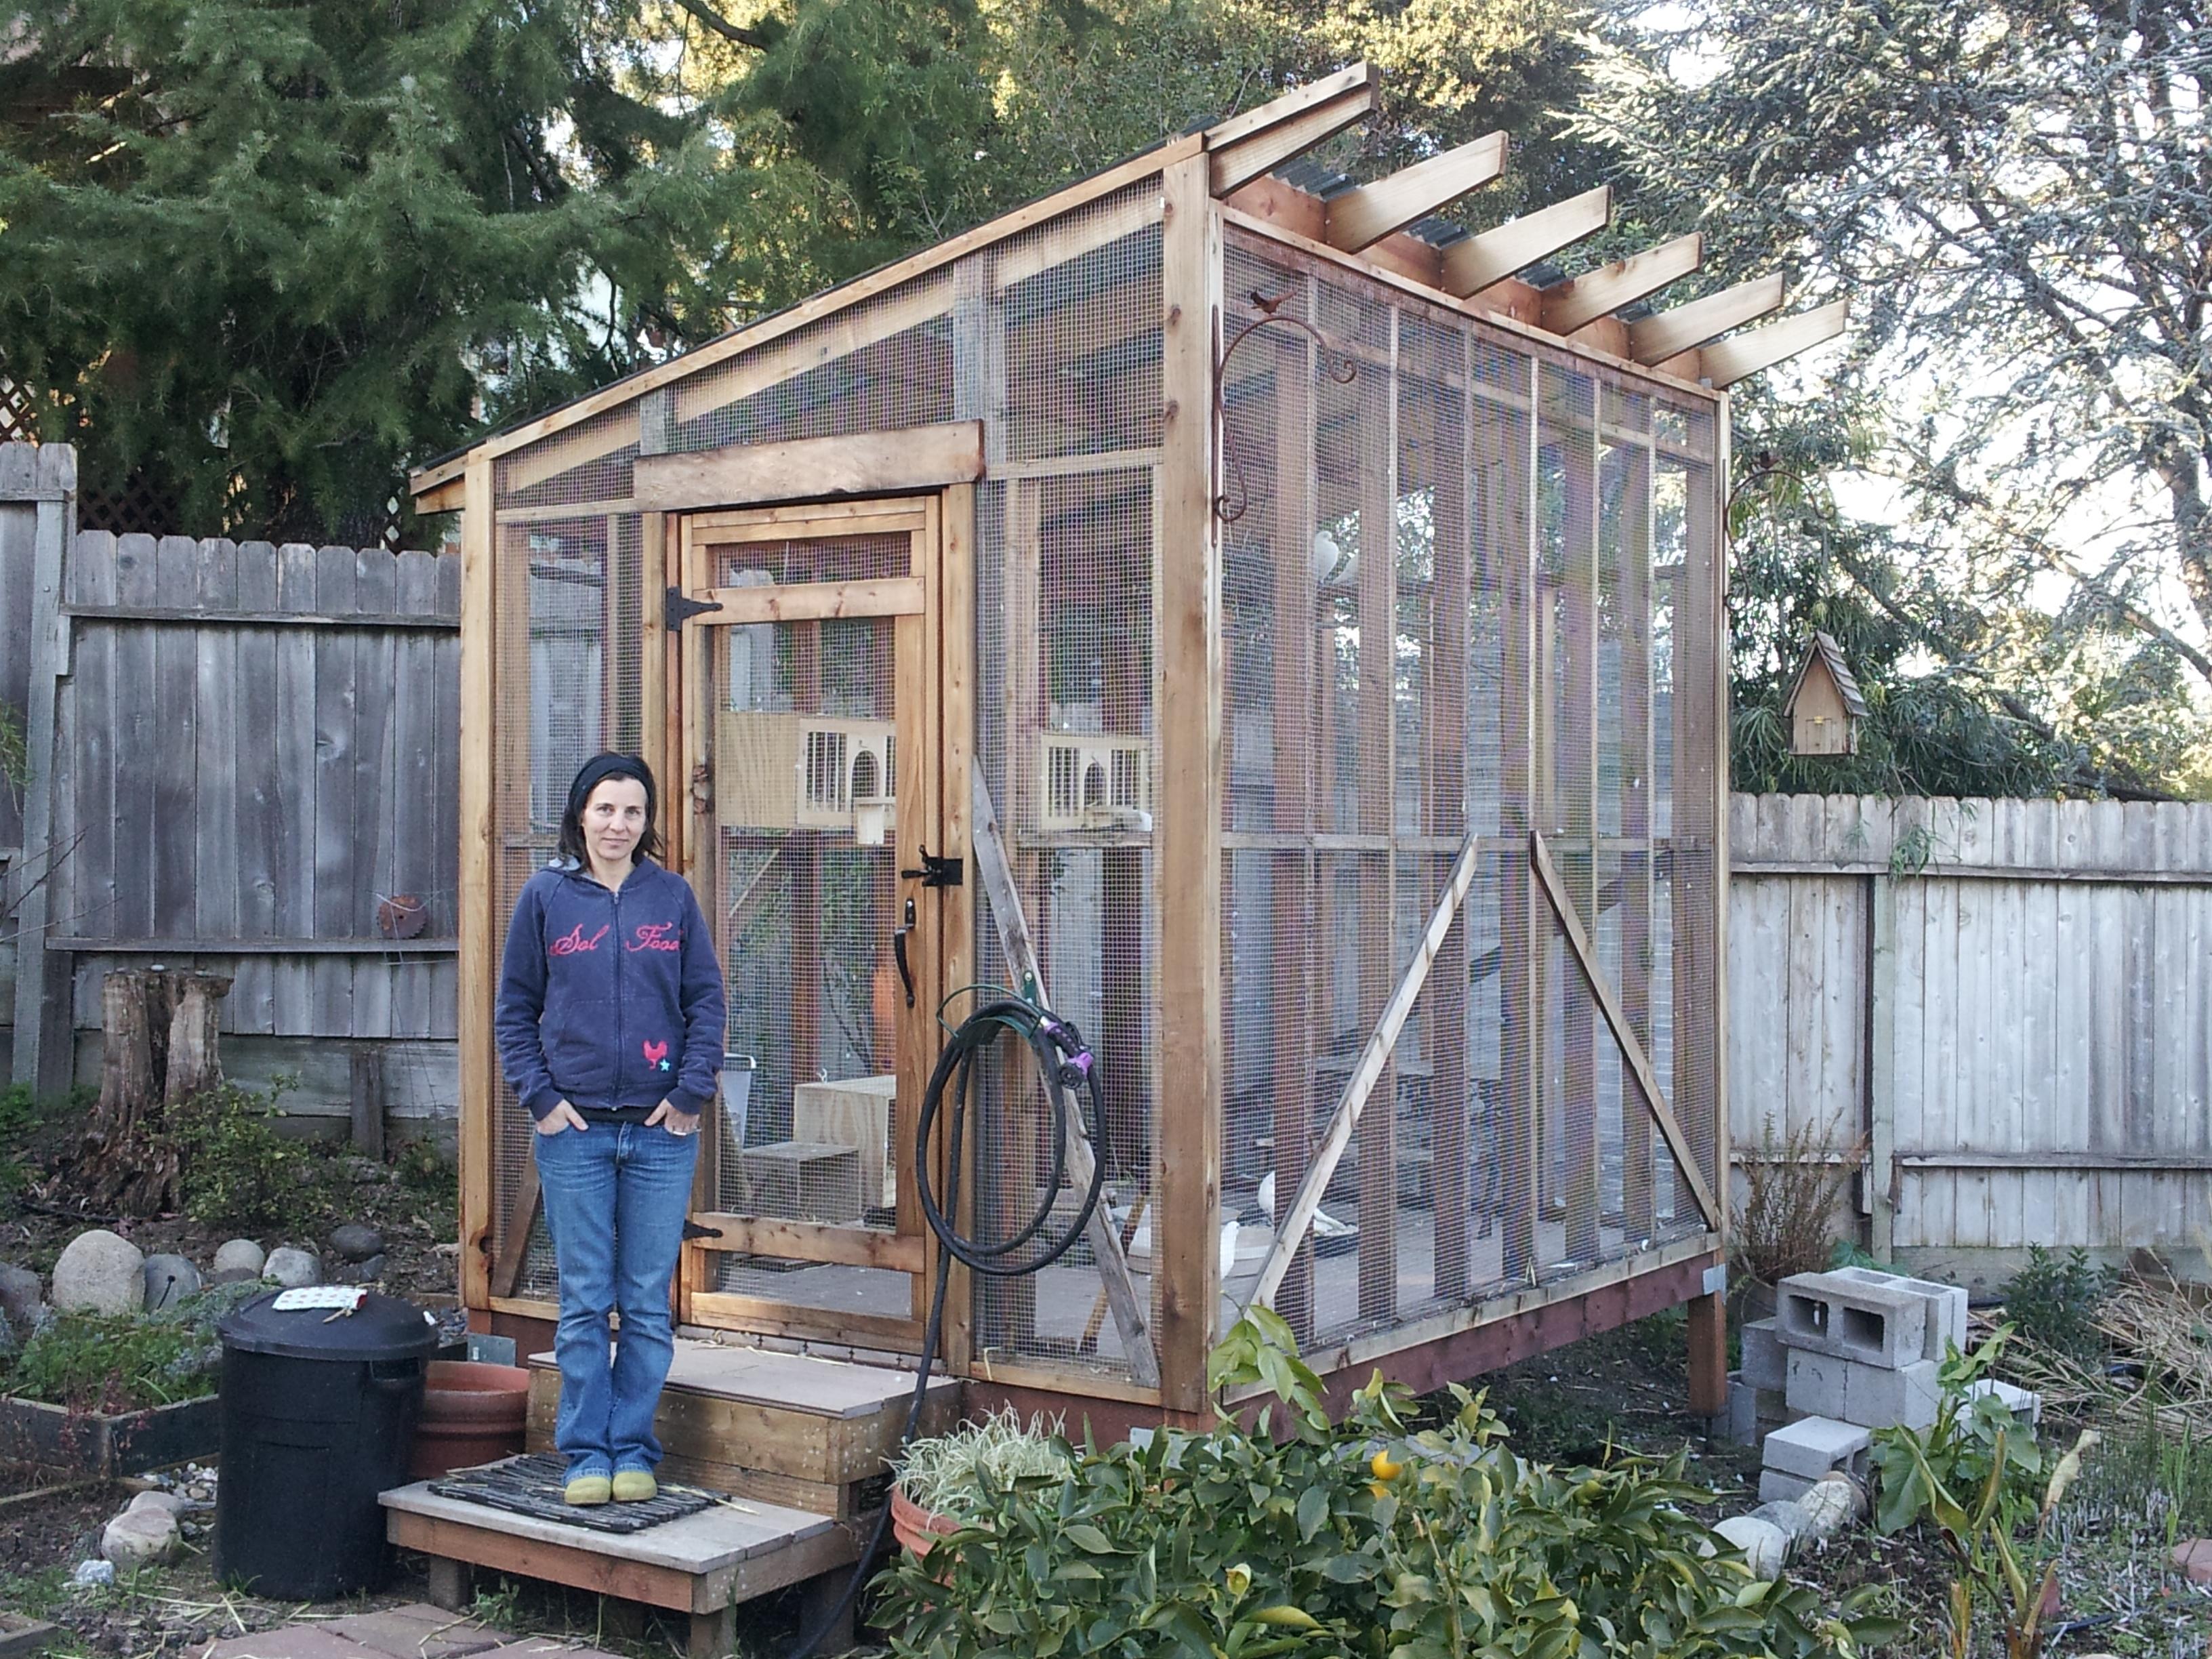
How to Create a Safe Outdoor Aviary for Your Birds

At sunrise, an outdoor aviary can sound like a small forest: wingbeats, soft calls, the rustle of leaves. To birds, it offers space to fly, sunlight to synthesize, and a landscape of perches, shade, and weather they can choose for themselves. Yet an aviary is not simply a cage moved outside. It is a habitat you build, where every decision-mesh size, door design, roof angle, planting, drainage-affects health, behavior, and safety.
Creating that space means balancing freedom with protection. Predators, extreme temperatures, parasites, and escape risks all shape the plan. Local climate, bird species, and your site determine the form, from the footprint and foundations to wind breaks, roofing, and the type of hardware cloth that keeps beaks, claws, and visitors on the correct side.
This guide walks through the process step by step: assessing location and regulations, sizing and layout, choosing durable materials, predator- and rodent-proof construction, weather and shade solutions, hygiene and biosecurity, enrichment and planting, and routines for inspection and maintenance. By approaching the aviary as a system rather than a structure, you can create an outdoor space that is both engaging and secure-one that supports natural behaviors while minimizing preventable risks.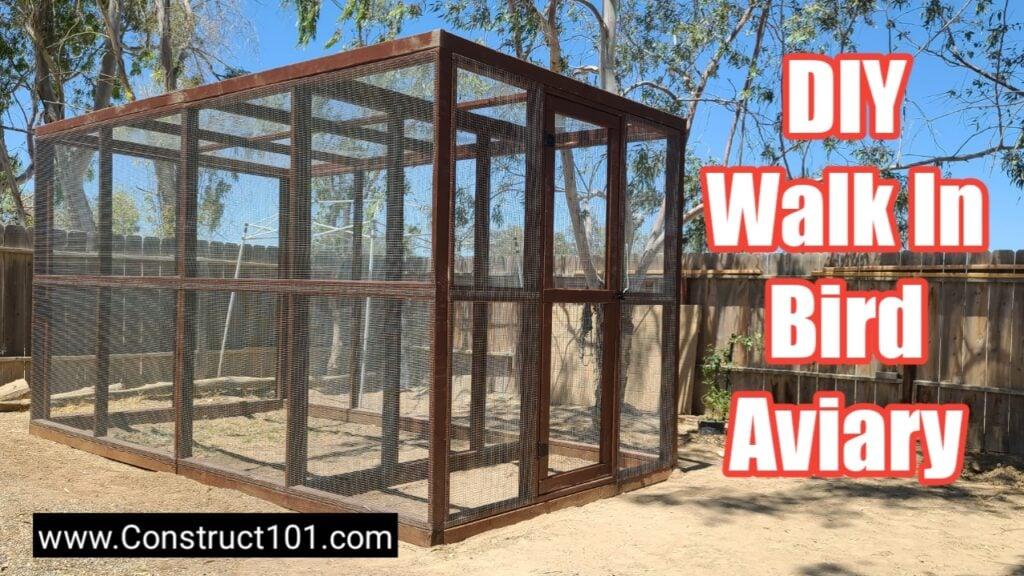
Selecting a well drained site and footprint with 50 cm perimeter clearance and morning sun exposure
Choose ground that stays firm after rain and sheds water naturally. A subtle slope (about 1-2%) away from the aviary footprint helps prevent pooling, and soils with some sand or gravel content are ideal for a well-drained base. Verify conditions with a quick check: dig a small test hole, fill it with water, and confirm it disappears within a few hours. Favor an east or southeast orientation so your birds benefit from morning sun that warms and dries the enclosure without subjecting them to harsh afternoon heat. Maintain a 50 cm clearance around all sides-this half‑meter "service lane" improves airflow, blocks predators from leaping or climbing in from nearby objects, and keeps maintenance tidy.
- Drainage check: Avoid low spots, swales, and areas with standing water; steer clear of clay-heavy pockets unless you can amend or install drains.
- Sun and wind: Map early light with a day's observation; use natural windbreaks (hedges, fences) on the prevailing-wind side while keeping that half‑meter buffer intact.
- Clearances: Keep shrubs, fences, raised beds, and storage at least 50 cm from the mesh; trim overhanging limbs to deter climbers and falling debris.
- Site practicality: Check setbacks, underground utilities, and roof runoff patterns; avoid flood-prone zones and heavy shade that stays damp.
When marking out the footprint, stake and string the interior edges, then chalk a halo that extends your 50 cm perimeter all around. Grade the surface to shed water, and consider a gravel apron or French drain along the outer edge to whisk away storm flow. Prioritize a clean, level maintenance path within that buffer so you can service panels, gutters, and anchors without squeezing by. On the light-facing side, leave the mesh more open for gentle dawn rays, and plan selective shade-like deciduous shrubs, shade cloth, or a solid panel-on the west to temper hot afternoons. Finish with a weed barrier beneath the buffer, robust anchoring, and a predator‑resistant interface at ground level to keep the enclosure dry, bright in the morning, and secure year‑round.
Predator proof construction using 16 gauge galvanized hardware cloth with 12 mm spacing a buried skirt 30 to 45 cm deep and lockable double door entry
Keep claws, teeth, and prying hands out by skinning the entire frame-walls and roof-with 16‑gauge galvanized hardware cloth in 12 mm spacing. This mesh blocks snakes and rodents while resisting raccoon pulls, and the galvanization shrugs off weather. Wrap corners continuously, treat the roof as a vulnerable side, and close every seam like it matters-because it does.
- Overlap mesh panels by 5-10 cm and stitch with stainless wire or hog rings before fastening.
- Fasten every 5-8 cm with galvanized staples/screws and trap the mesh under exterior-grade battens for tear resistance.
- Screen all gaps at eaves, corners, and service penetrations; no opening larger than 12 mm.
- Finish edges with hemmed folds to remove sharp points and prevent snagging feathers.
Stop diggers with a below‑grade perimeter and control access with an air‑lock style entry. Excavate a trench and set a buried skirt to a depth of 30-45 cm; add an outward apron where soil allows to turn back determined tunneling. Pair that with a lockable double‑door vestibule so escapees can't slip past your feet and prowlers can't shoulder their way in.
- Skirt installation: run mesh straight down 30-45 cm, then flare outward 30-60 cm where possible; backfill with compacted soil or gravel for drainage.
- Entry hardware: self‑closing hinges on both doors, a keyed latch plus a padlockable hasp, and carabiners on secondary clips to defeat dexterous predators.
- Seal the thresholds: keep door clearances under 6 mm; add a kick plate and brush sweep to block rodents and snakes.
- Routine checks: inspect monthly for rust, loosened fasteners, and burrow attempts; repair immediately to maintain integrity.
Weather resilience and microclimate management with a solid roof over one third UV rated shade cloth windbreak panels and thermostatic heat for cold snaps
Shape the aviary into gentle zones of comfort by layering shade, shelter, and airflow. Roof roughly one-third of the footprint with a durable, opaque cover to create a dry refuge for feeding and roosting, while the remaining span breathes freely. Use UV‑rated shade cloth to soften harsh sun without plunging the space into gloom, preserving dawn and late‑afternoon light that supports natural rhythms. Keep the microclimate lively but stable: let warm air slip out through high gaps, invite cool air at low points, and orient the sheltered bay away from prevailing weather so rain and snow are shed cleanly rather than driven inside.
- Solid roof (≈1/3): Position over key stations (perches, feed, bath). Choose quiet-in-rain materials, add gutters and downspouts, and pitch for fast runoff.
- UV‑rated shade cloth: Tension 70-90% fabric across sun‑exposed spans; make it modular or roll‑down for seasonal tuning and storm removal.
- Ventilation with brightness: Use translucent panels where you need light; leave a slim ridge/soffit gap for convective exhaust without drafts.
- Dry footing: Crown the substrate, install French drains or rain chains, and keep splash zones away from the dry bay.
Tame the wind and buffer sudden chills with a combination of barriers and smart heat. Clear polycarbonate or timber‑slat windbreaks on the windward sides slow gusts while still breathing, protecting feathers from ruffle and stress. In the sheltered bay, a thermostatically controlled radiant source (panel or guarded ceramic emitter) nudges ambient temperatures during cold snaps without blasting air. Aim to hold a gentle gradient-warmer perches in the lee, cooler options in the open-then verify with sensors at perch height so birds can choose comfort rather than endure extremes.
- Windbreak placement: Shield the storm‑facing walls; leave 10-20% open at the top or leeward side to prevent stagnation and condensation.
- Thermostatic heat: Use outdoor‑rated equipment with a reliable thermostat; set the threshold above your species' minimum and automate night set‑backs.
- Safety first: Guard all hot surfaces, run cables in conduit, use GFCI/RCD protection, and keep clearances from wood, nets, and nesting material.
- Measure and prepare: Place dual temp/humidity probes at perch level, log data, add remote alerts, and plan a battery/inverter or generator backup for outages.
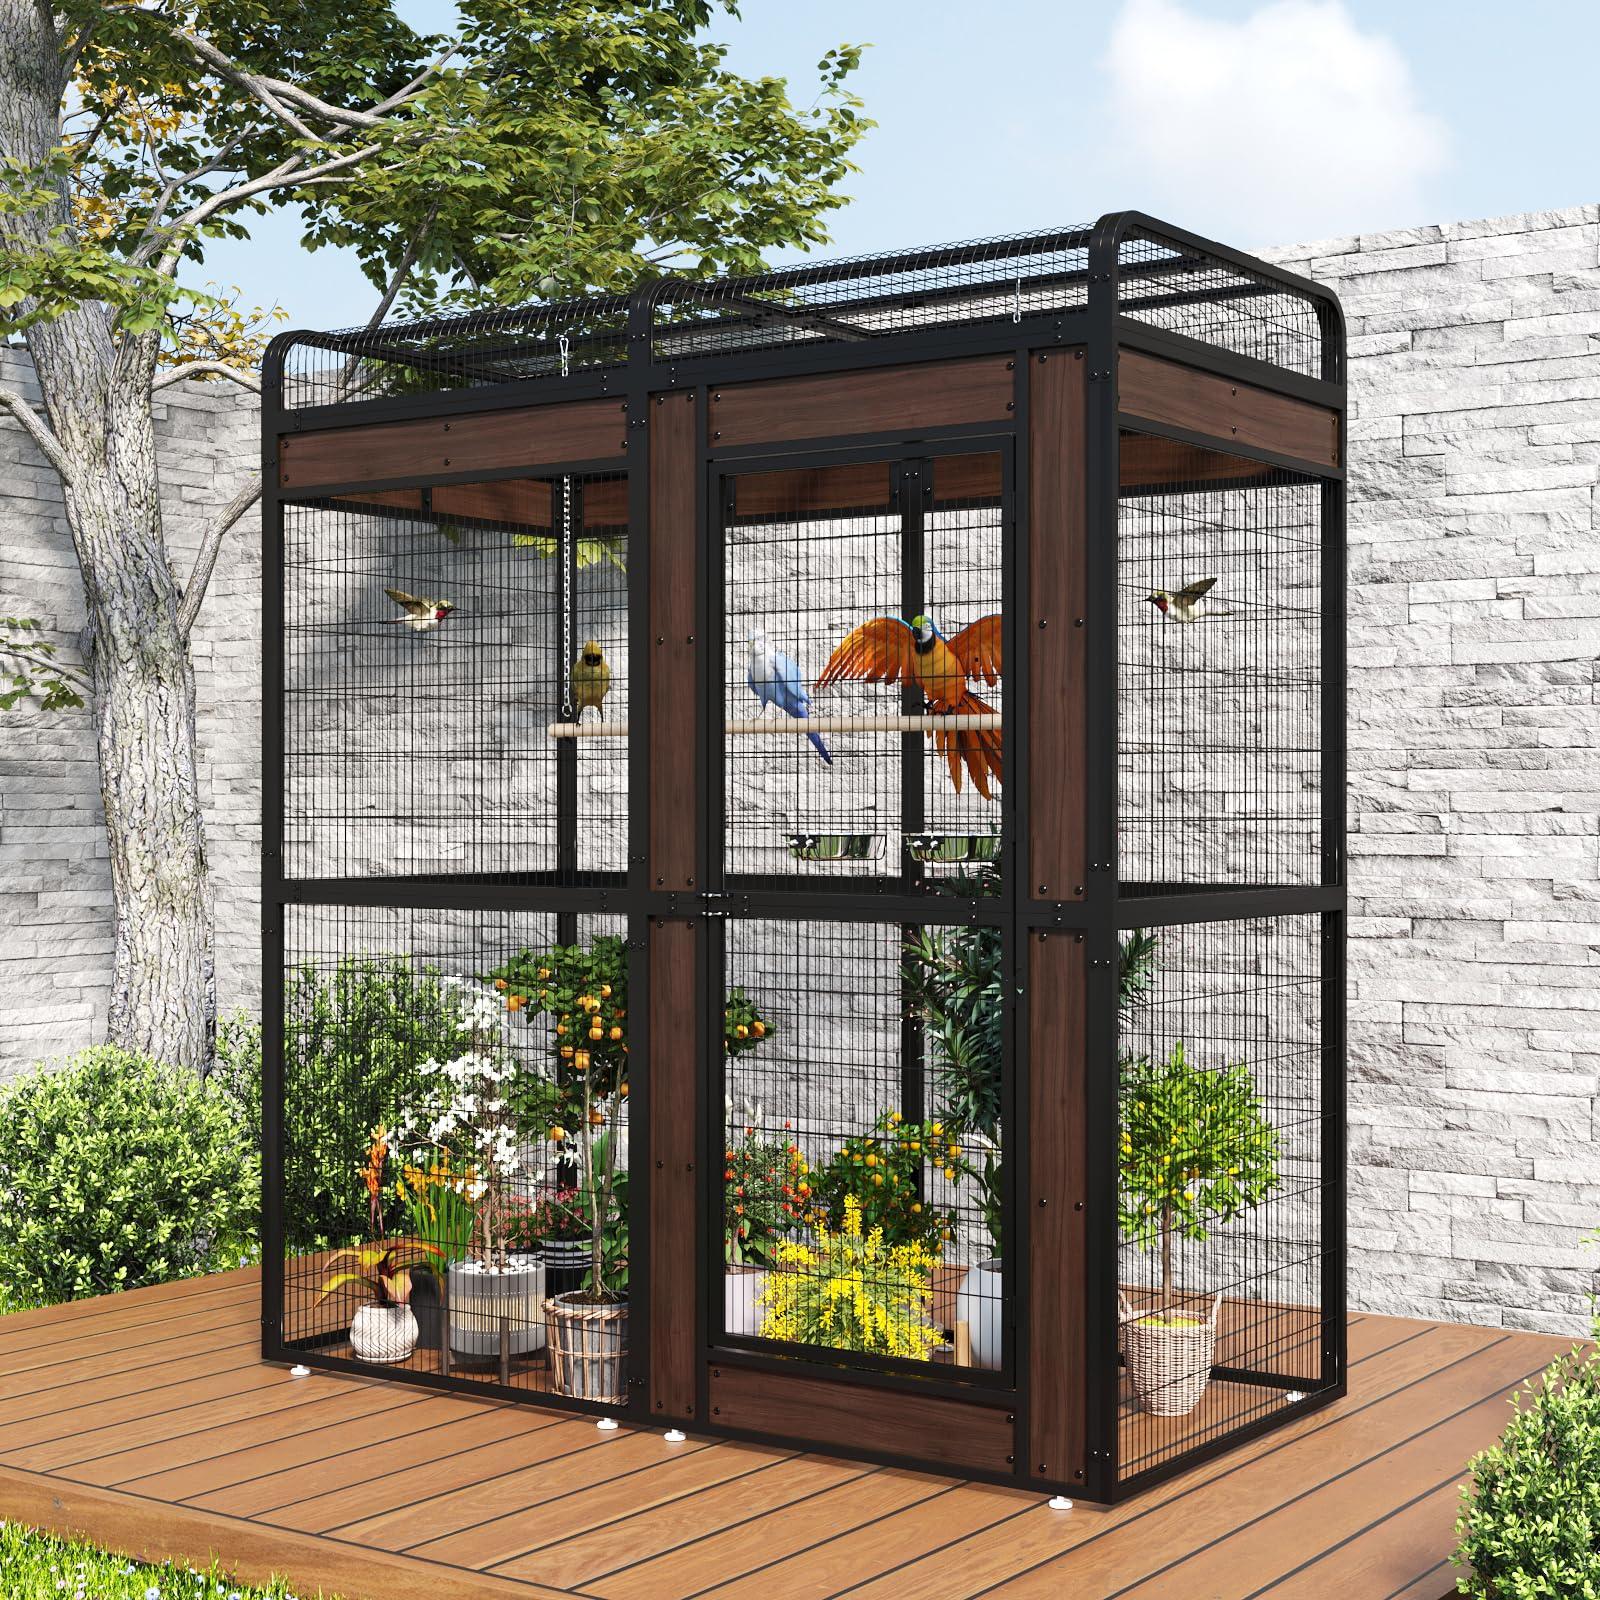
Interior welfare and hygiene with natural perches in varied diameters suspended feeders non toxic plants drainable sand or pea gravel and a defined cleaning routine
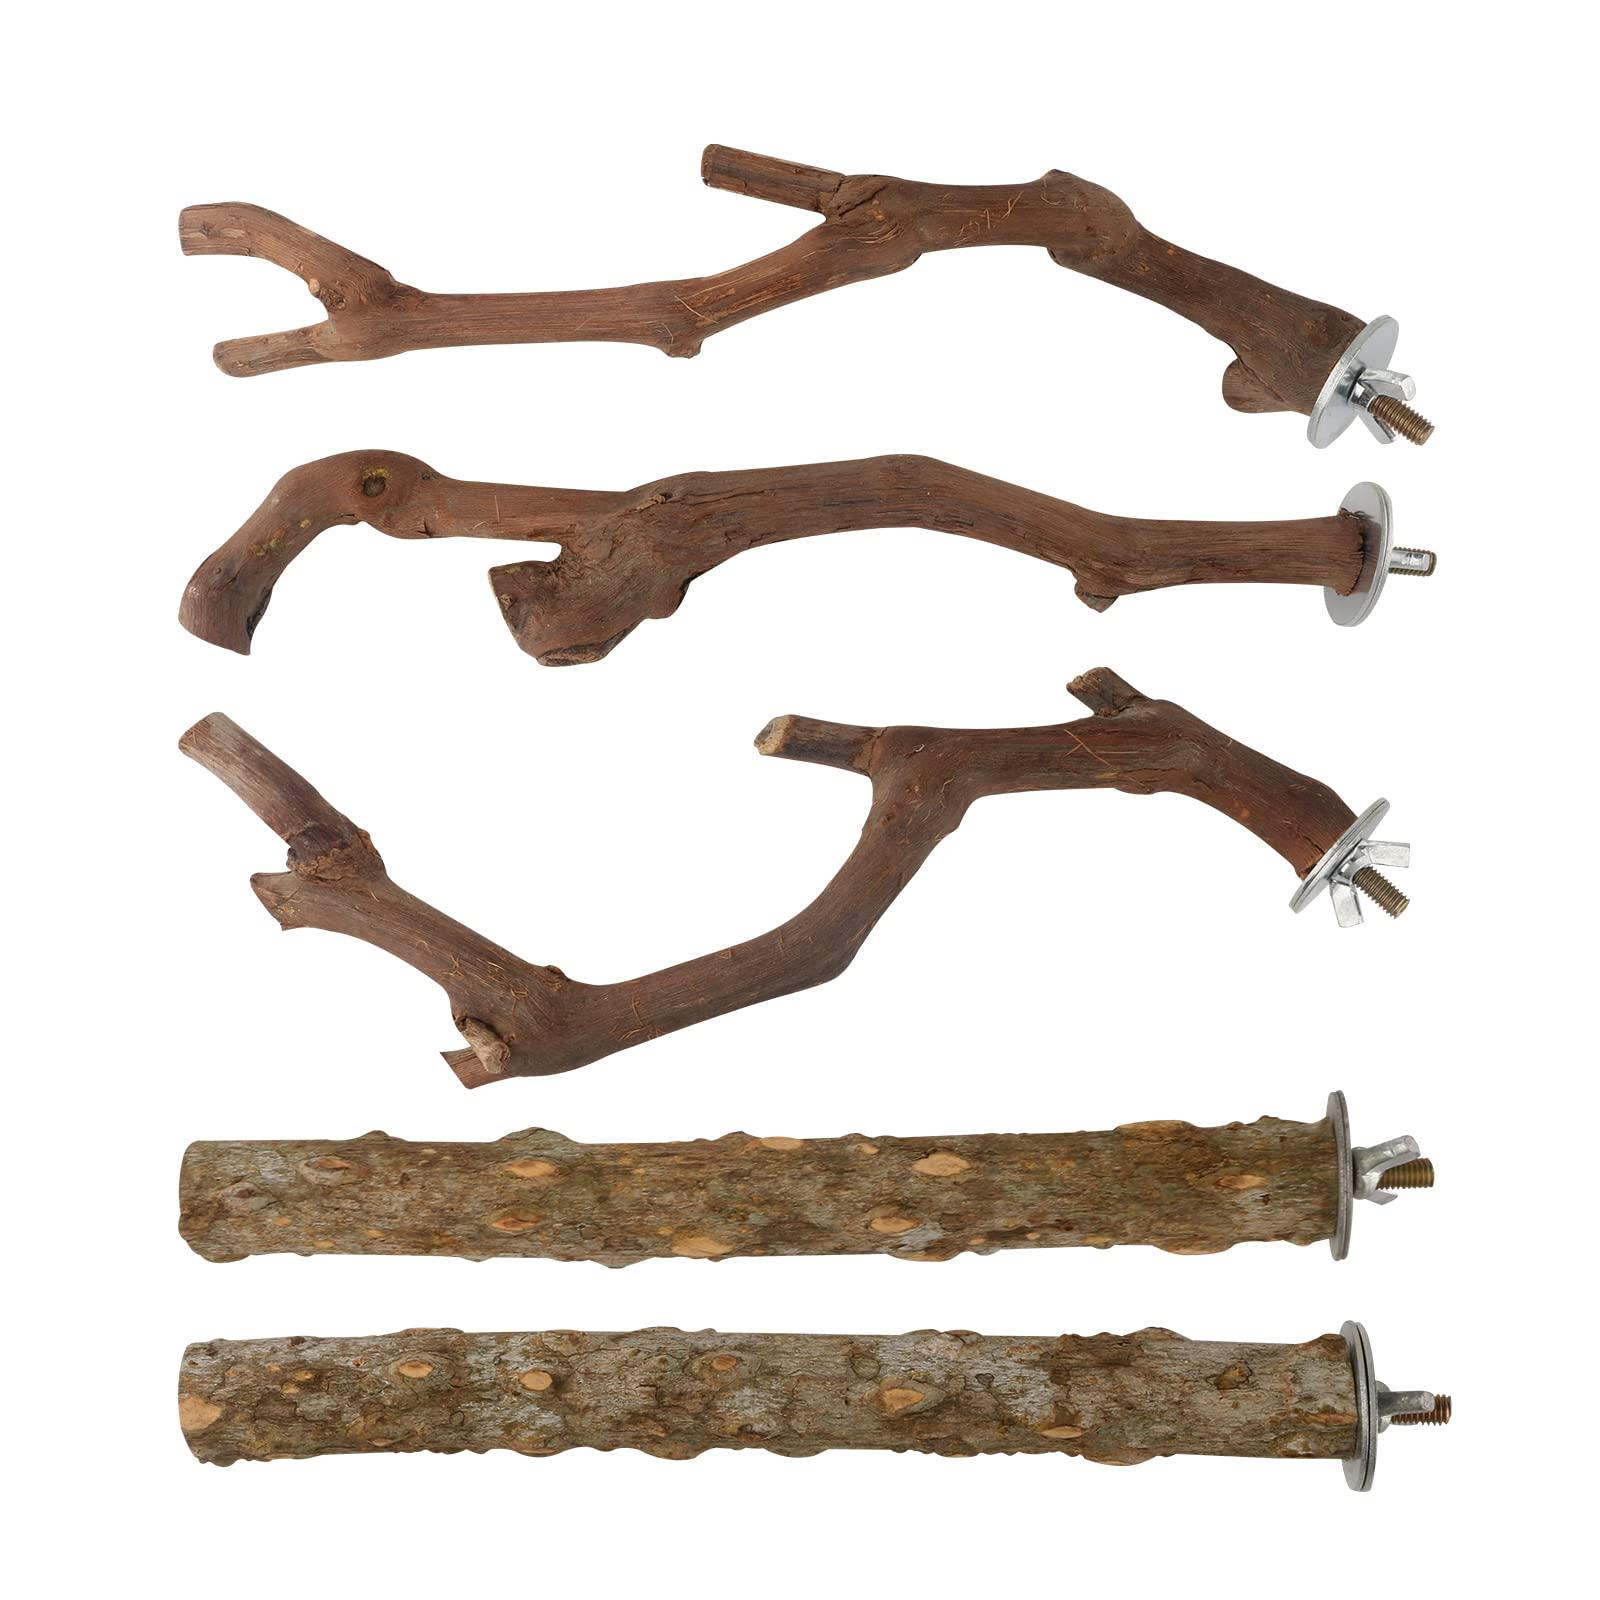
Comfort starts with structure: offer natural perches in varied diameters and textures so feet flex and blood flow stays healthy. Hang suspended feeders and waterers to keep food off the floor and reduce contamination, placing them away from preferred roosts to avoid droppings. Add living enrichment with non‑toxic plants in protected planters-leaf cover calms birds and filters light-while wire-meshed soil stops digging. For floors, choose drainable sand or pea gravel on a slight slope with a perforated drain or French drain beneath; it sheds water fast, sifts easily, and limits odor.
- Perches: Stagger heights; mix manzanita, apple, willow, or safe bamboo; include a rough branch for natural nail wear and a softer roost for sleep.
- Feeders/Water: Hoist on chains or cord with drip trays; position in light breeze for drying; use back-up stations to reduce crowding.
- Plants (safe picks): Spider plant, bamboo palm, marigold, bottlebrush, nasturtium; avoid oleander, philodendron, and sago palm.
- Flooring: 5-8 cm of washed sand or pea gravel; rake daily; sift like cat litter; hose through to the drain as needed.
Cleanliness is a habit, not a scramble. Build a defined cleaning routine that prevents biofilm, seed rot, and pests before they start. Keep a labeled caddy outdoors with dedicated tools, and favor bird‑safe disinfectants over harsh scents. Good airflow, sun patches, and dry footing do half the hygiene work-your schedule does the rest.
- Daily: Sift floor substrate; wipe perches under roosts; refresh water; empty wet seed; check plants for nibble damage or mold.
- Weekly: Rotate/flip a few perches; soak bowls and feeder parts; rinse foliage; hose substrate to the drain; inspect for mites or ants.
- Monthly: Deep‑clean with F10 or dilute bleach (1:32), rinse and dry; swap or bake sand if odor persists; prune plants; audit hardware and hang points.
- Always: Separate indoor/outdoor tools; store feed in sealed bins; fix leaks immediately so the floor stays drainable and birds stay dry.
In Summary
A well-built aviary is more than a frame of mesh and timber; it's a small, sturdy horizon where your birds can practice the rituals of sky with the safety of home. If you've planned for predators and weather, balanced sunlight with shade, and paired strong materials with clean, thoughtful design, you've already done most of the quiet work that keeps wings beating and voices bright.
From here, the aviary becomes a living system. Seasons will ask for small adjustments, routines will refine themselves, and your birds will tell you-in posture, in plumage, in song-what's working. Keep the structure inspected, the surfaces clean, the enrichment varied, and the feeding and quarantine practices consistent. Stay attentive to local regulations and the needs of the species you house, and let maintenance be regular rather than reactive.
In the end, safety and freedom meet in the details. With steady care and an eye for change, your outdoor aviary can remain what it was meant to be: a dependable refuge with room to explore, a place where your birds are protected enough to be themselves.
Leave a Reply